Azure offers the ability to set static IP addresses for hosted virtual machines. I recently had to configure this for some of our existing “classic” Azure virtual machines. The process is as follows.
Setup Azure PowerShell Cmdlets
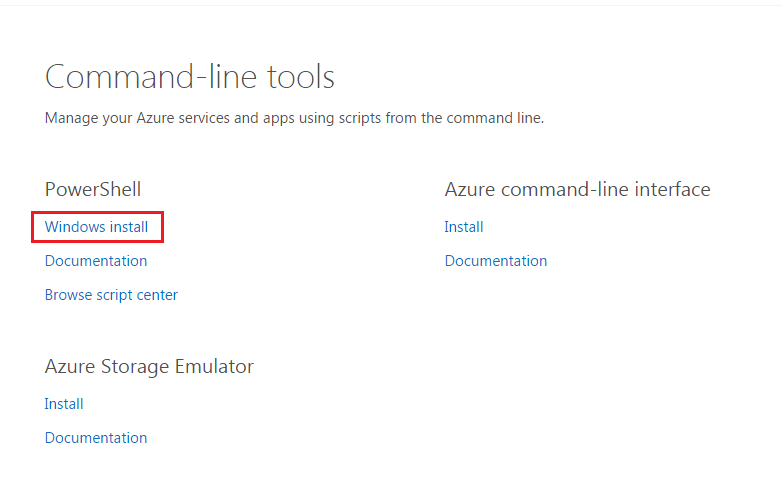
First download and install the Azure PowerShell cmdlets onto your local machine from here https://azure.microsoft.com/en-us/downloads/
The installation may require a reboot.
Fix PowerShell Proxy Authentication Issue
As I was doing this within a corporate environment I ran into issues with my local proxy server. If this doesn’t apply to you then feel free to skip this step.
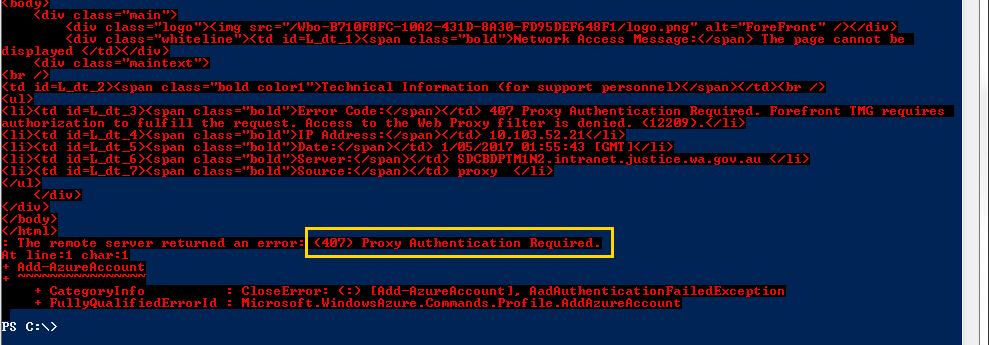
You might encounter the below 407 error when the Azure PowerShell Cmdlet bumps up against your proxy server.
Run the below PowerShell command to fix the issue. It’ll use your local network credentials to authenticate against your proxy server.
netsh winhttp import proxy source=ie
$webclient=New-Object System.Net.WebClient
$creds=Get-Credential
$webclient.Proxy.Credentials=$creds
Azure Account Login
Next log into your Azure account. The below command will launch a window prompting you to log into your Microsoft Azure account.
Add-AzureAccount
Choose your Azure Subscription
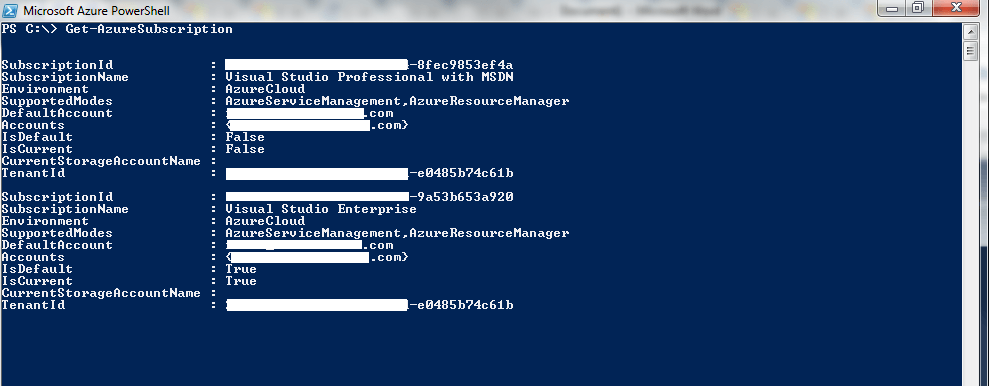
If you have multiple Azure MSDN subscriptions (like me) you’ll need to choose the right one. It should be the same one where your existing VM’s are running.
Get-AzureSubscription
Select-AzureSubscription -SubscriptionId "XXXXXXX-XXXXXXX-XXXXXXX-XXXXXXX-XXXXXXX"
Assign Static IP to Classic VM
New-AzureReservedIP -ReservedIPName "<NAME FOR RESERVED IP RESOURCE>" -Location "Australia Southeast" -ServiceName "<NAME OF VM>"Example:
New-AzureReservedIP -ReservedIPName "ShaneTempVMIp" -Location "Australia Southeast" -ServiceName "ShaneTempVM"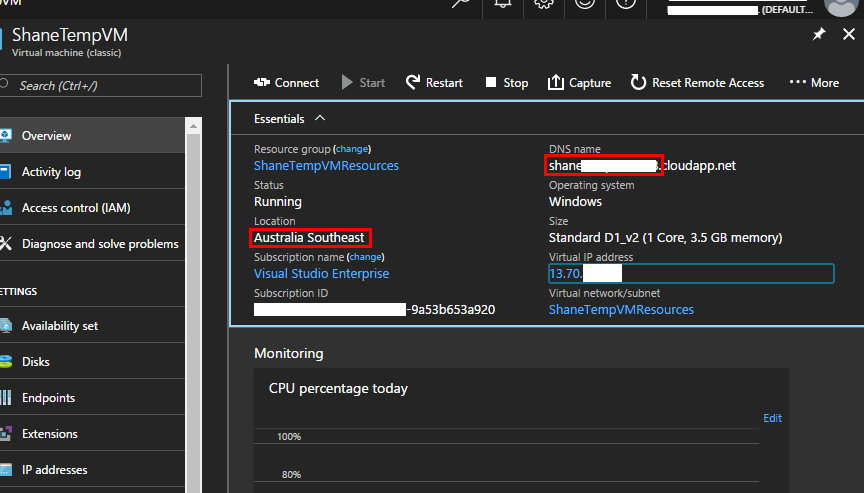

Verify
Your static IP should now be set up.
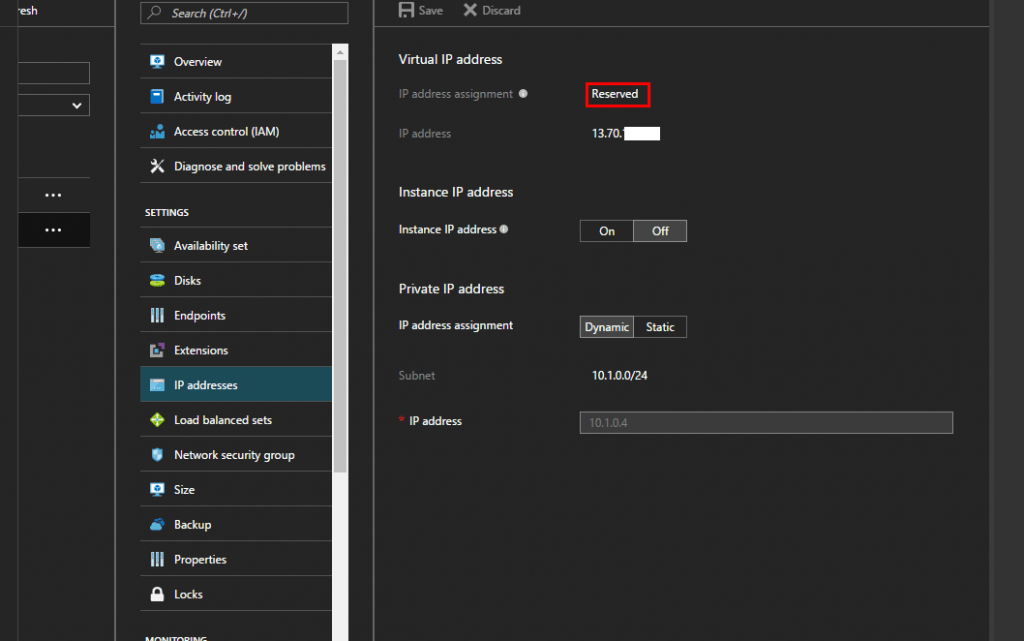
To confirm, head back into the Classic VM screen and ensure the IP ADDRESS ASSIGNMENT = ‘RESERVED’
- GitHub Actions Exam Study Guide - 14th February 2025
- Solved: Build Errors Not Showing in VS 2022 - 21st November 2024
- How To: Configure VSCode to Trust Self-Signed Certs - 16th August 2024