Overview
Do you have a need to generate emails with PDF attachments using the Power Automate (aka Microsoft Flow) workflow engine?
Guess what! You’re in luck because in this post I’ll show you how to do exactly that. I’ll show you how to generate a PDF document and send it via email.

Solution
At a high level, the solution is to create a HTML document containing the body of your document, save it to OneDrive, convert it to PDF and then attach the PDF document to the email.
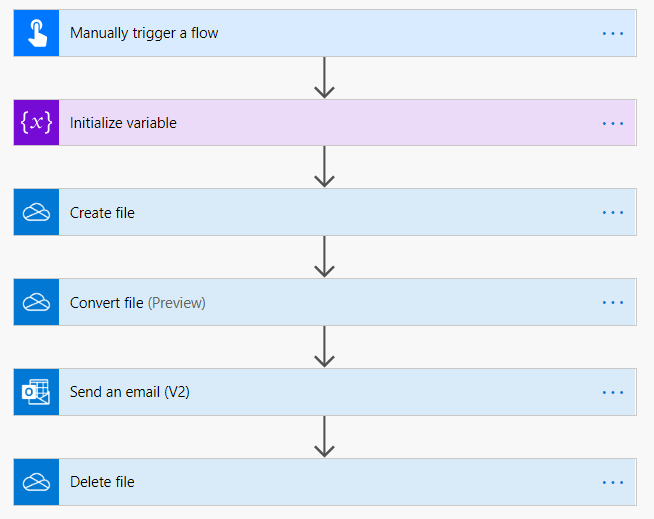
Lets walk through it step-by-step:
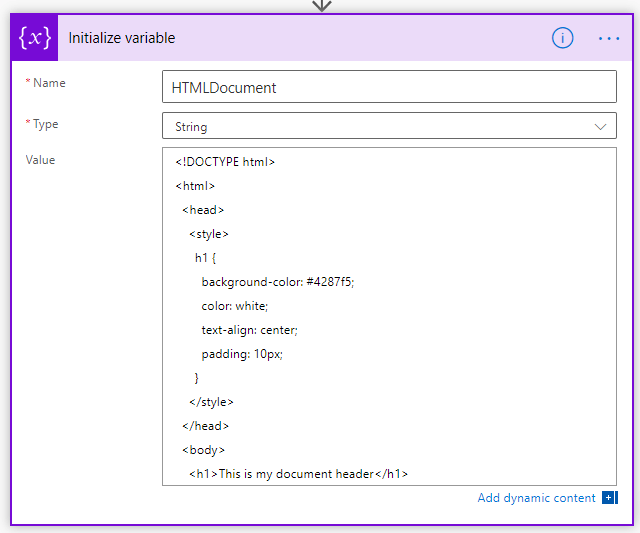
1) First, add an ‘Initialise Variable’ action.
2) Now we need to create a HTML version of the PDF document you’d like to generate. Append your HTML to the variable we created earlier.
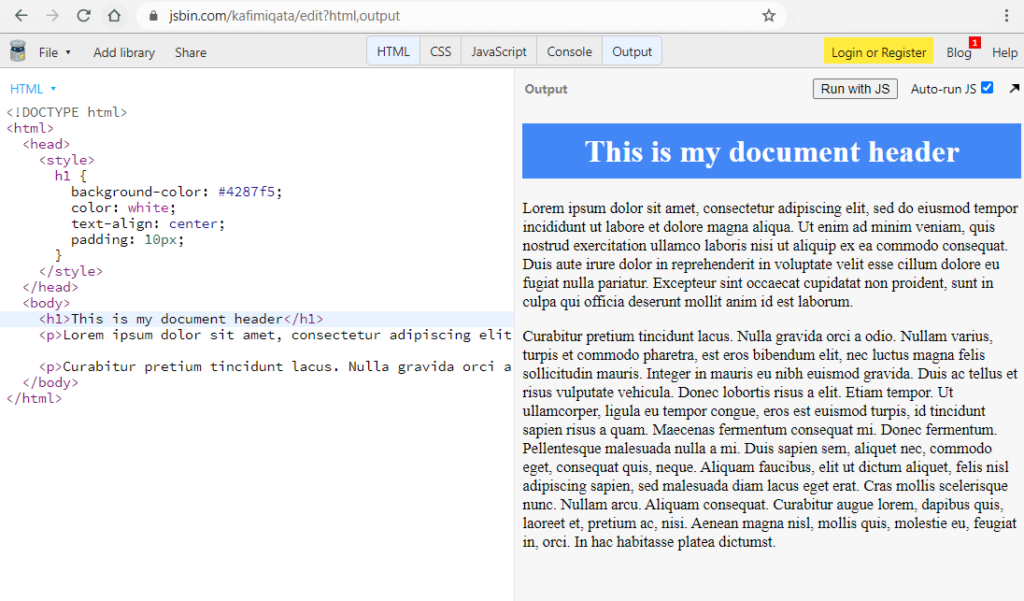
I’d recommend using an online HTML editor such as jsbin.com to quickly compose the HTML document and view the edited HTML in real-time. It’s much easier than editing it in Power Automate.
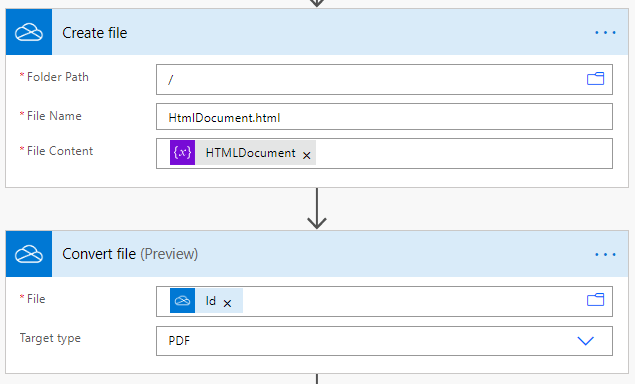
3) Next, add a ‘OneDrive – Create File’ action to save the HTML content to a file in OneDrive. You can name the file anything you’d like. The file content should come from the variable you created earlier.
4) Add a ‘OneDrive – Convert File’ action to convert your saved HTML file to PDF. Use the file Id from the previous step and select Target Type as ‘PDF’.
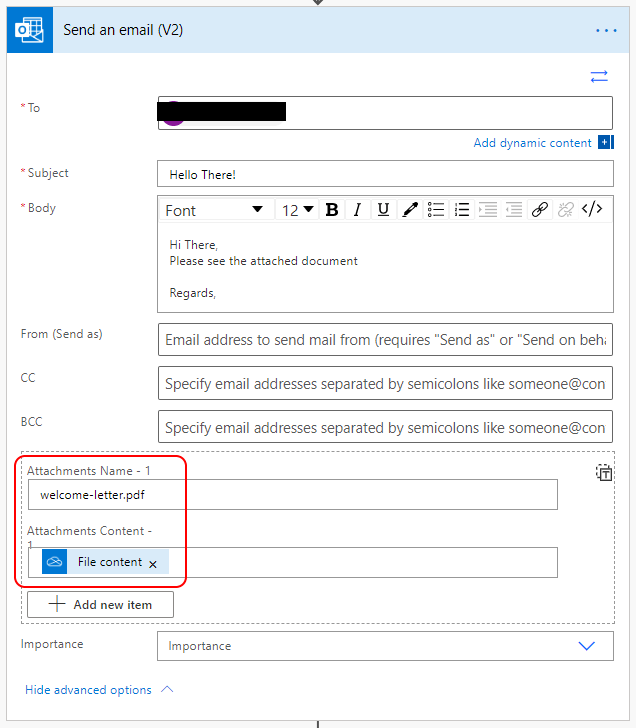
5) Add a ‘Outlook – Send an email’ action. To attach the PDF file to the email, expand the ‘Advanced Options’ section, specify a file name and set the Content field to the Content from the ‘Convert File’ action.
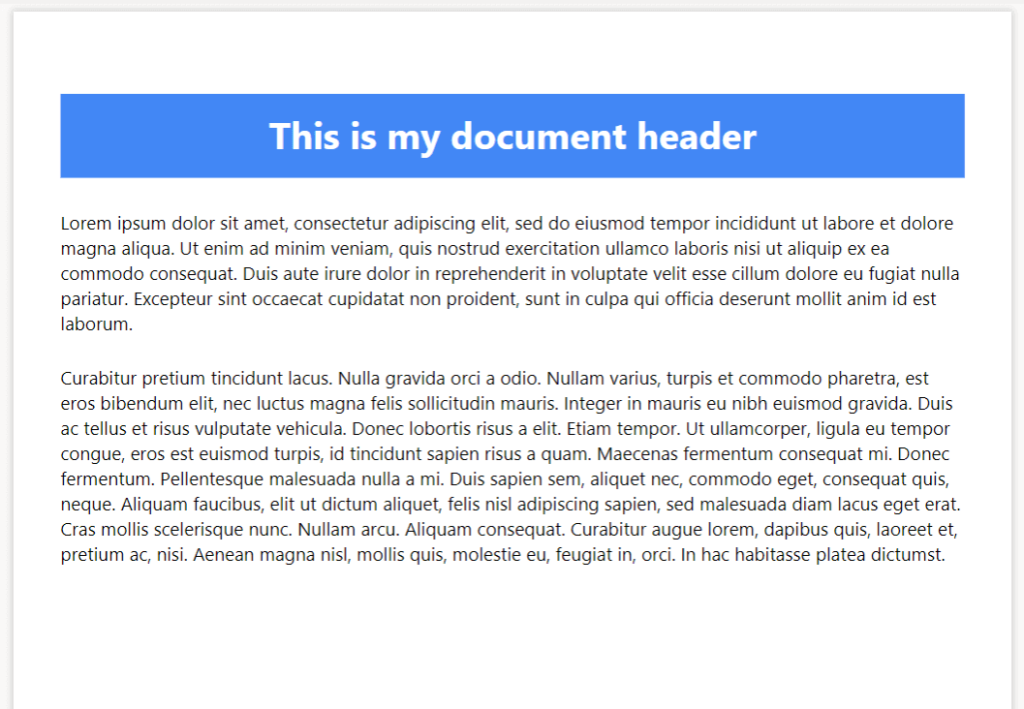
Here is the PDF file I generated in the above example:
6) Finally, I suggest you delete the html temporary file you created earlier. Add a ‘OneDrive – Delete file’ action and specify the ‘Id’ of the HTML file you created earlier.

Final Thoughts
Well that’s it folks. It’s that simple!
If you have any tips or comments to help others, feel free to share it in the comments below.

This blog is my place to share my thoughts, helpful solutions and just random nerdy stuff.
- Solved: Filename too long for Git - 18th April 2025
- GitHub Actions Exam Study Guide - 14th February 2025
- Solved: Build Errors Not Showing in VS 2022 - 21st November 2024


16th September 2020 at 4:53 am
Looks easy – how would you insert text captured, say, from a Microsoft form into the HTML?
16th September 2020 at 12:08 pm
Hey Richard,
It’s a similar process,
Hope that helps.
8th July 2021 at 6:43 pm
It works. But for a lengthy two page document it seems to leave out part of the content. Any thoughts?
8th July 2021 at 9:07 pm
While I haven’t experienced that problem before, I have experienced other similar layout issues due to the use of more advanced HTML / CSS within the document. I’d suggest checking this. Make sure you stick to very basic HTML and CSS syntax. If you find the solution, would be great to hear what it was.
12th August 2021 at 5:16 am
It works. Grateful!
But in the HTML content I inserted an tag , but when generating the PDF the image is broken and doesn’t appear in the file. Any thoughts?
12th August 2021 at 7:08 am
You could try embedding the image into the HTML using a data URI
https://css-tricks.com/data-uris/
To demonstrate:
https://jsbin.com/catofokabo/edit?html,output