Previously, when it came to creating your own Microsoft bots, it required a certain degree of knowledge and custom development to make things actually happen.
This has all changed with the Microsoft’s Cognitive Services portfolio. You can now have a bot up and running in 10 minutes – literally!

Question and answer type conversations are one of the most common uses for chat bots. Microsoft has recognised this and created the Qna Maker service to make it quicker and easier to create your own Q&A chat bot that integrates with existing services such as Skype, Slack and Facebook, etc. It’s amazingly powerful.
Approach
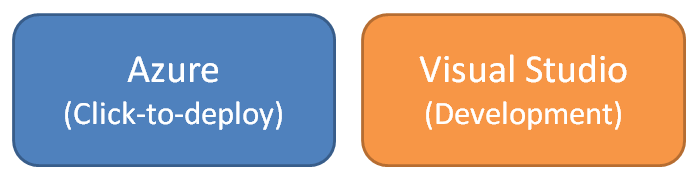
Microsoft offers a couple of different ways to build a QnA chat bot service, including through Azure and Visual Studio.
The primary difference is that Visual Studio caters to developers that are already familiar with the Visual Studio IDE and require more extensibility options. The Azure approach is more suited to IT Ops that don’t really want to write any code, they just want to get it up and running quickly with a few clicks.
The Visual Studio Way
The high level process to set up your QnA bot using Visual Studio is as follows:
- Create the QnA Maker service
- Create your bot web app (Web API)
- Register your bot
So let’s get into it now. First head over to https://qnamaker.ai/ and log in with your Microsoft Live account. Create a new Q&A Maker service.
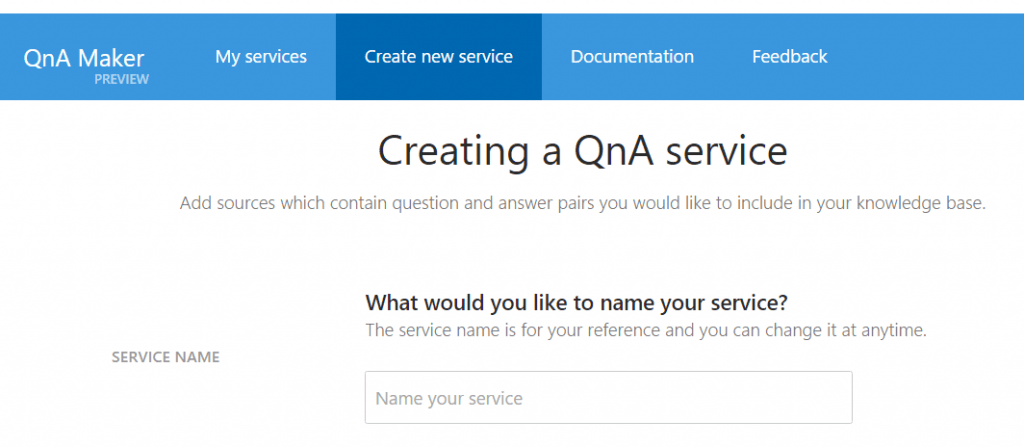
Here you’ll be asked to enter some sample questions and answers. You’ll have the option of either
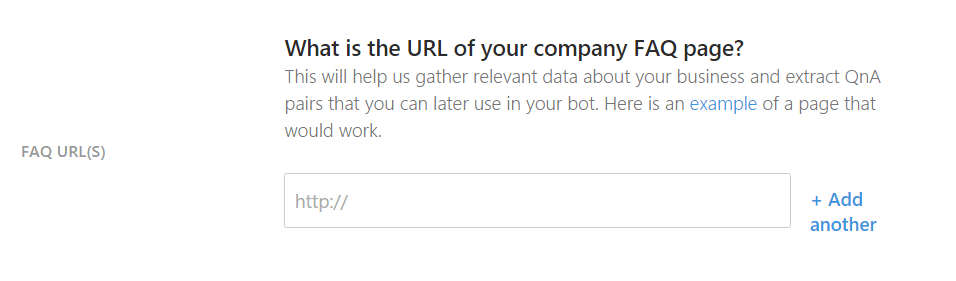
- Web Page: Provide a link to your company’s public FAQ page. The QnA service will scan the page and automagically scrape the questions and answers from the web page – incredibly cool!

- Files: Upload files containing your questions and answers

- Manual Data Entry: Manually enter the questions and answers


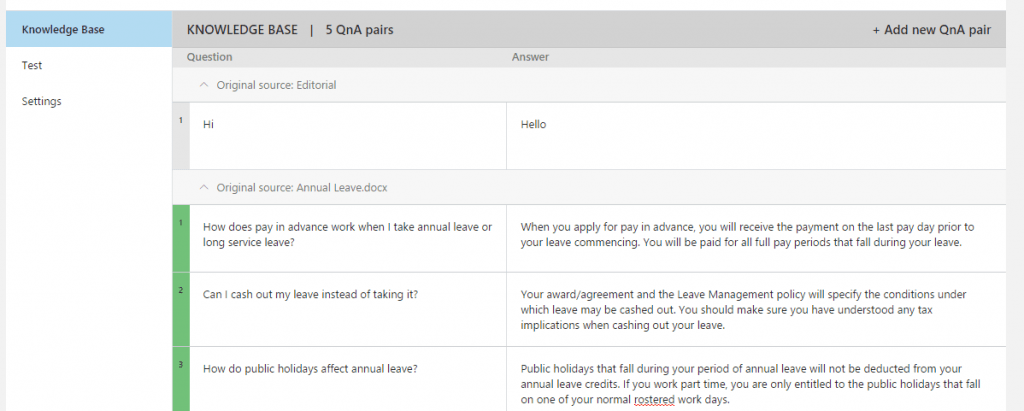
In the MY SERVICES page you should see your new QnA service that you just created.
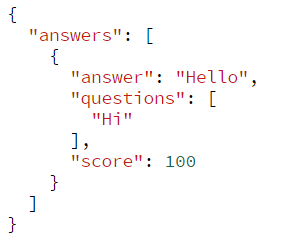
From here you can view the questions and answers that have been generated.
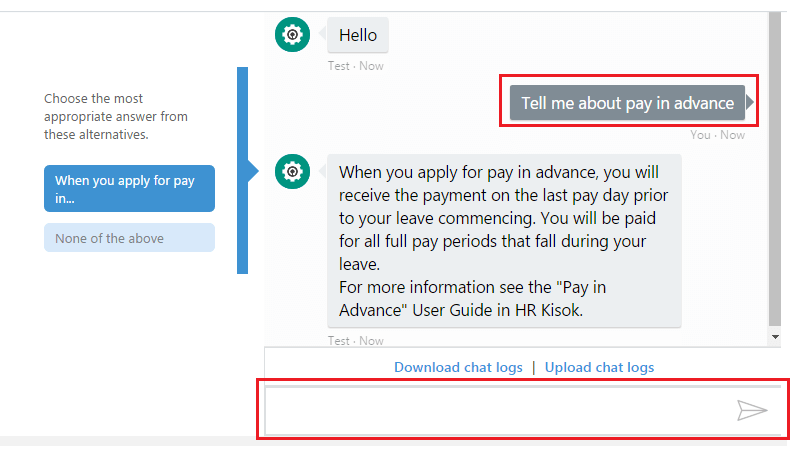
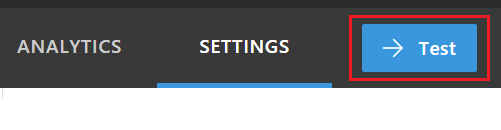
You can test out your new bot through the TEST page.
If you make any changes to your questions and answers, be sure to retrain your bot by clicking the SAVE AND RETRAIN button.
Once you’re happy with everything you’ll then need to PUBLISH it to make it ‘live’.

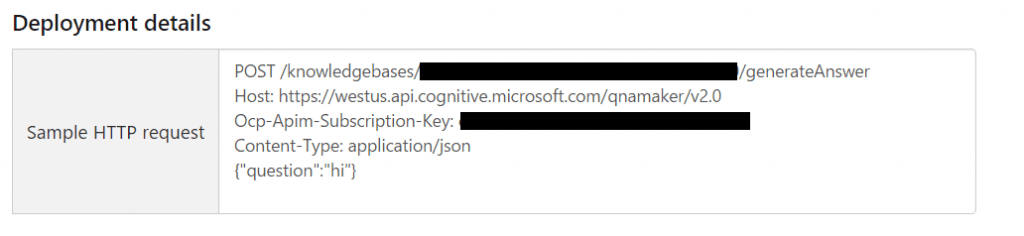
After publishing the service, you’ll be given the details of the QnA HTTP service which you can query.
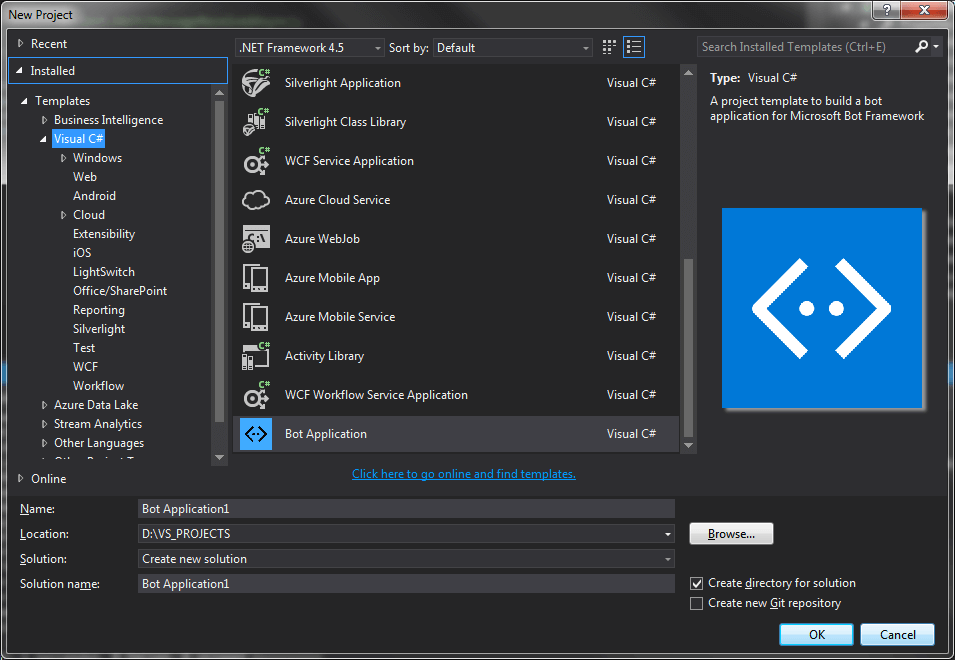
Now we’ll need to create our Visual Studio solution using the Bot Application template. If you don’t see the template, have a look here.
Once the project has been created, update all Nuget packages within the solution.
For the purposes of this article I’m going to show you a very minimal implementation to get you up and running quickly.
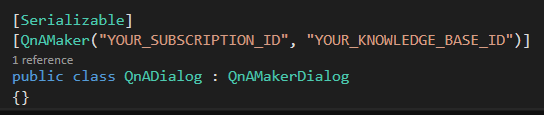
Overwrite the RootDialog with the following code to connect it up to your QnA Maker account. You’ll need to enter your Subscription ID and Knowledge Base ID from your QnA Maker account – see the ‘Sample HTTP Request’ in the Settings screen.
Also be sure to update the controller to use your new QnaDialog class.
Register your bot at https://dev.botframework.com/ and then update the web.config file

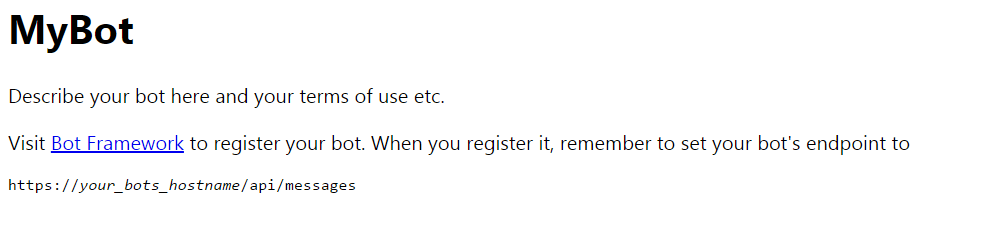
Publish your solution to a free Azure App Service. After it’s deployed, you should see this screen when you access the web app.
Head back into your Bot Framework account and update the Messaging Endpoint field with your hostname.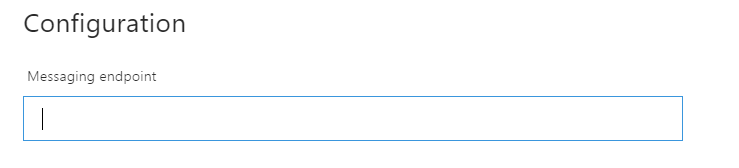
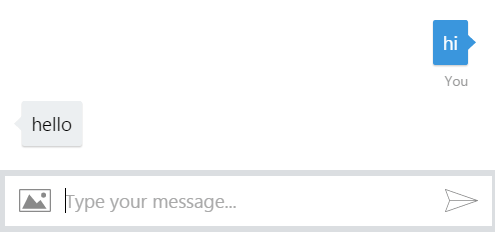
Now it should be all done. You can connect it to a channel and start using it. You can quickly test it out from the test window.
That’s it, all done!
The Azure Way
Provisioning your bot through Azure is much simpler. This option requires zero coding to get it up and running.
Azure will auto generate the bot project for you based on a template of your choosing.
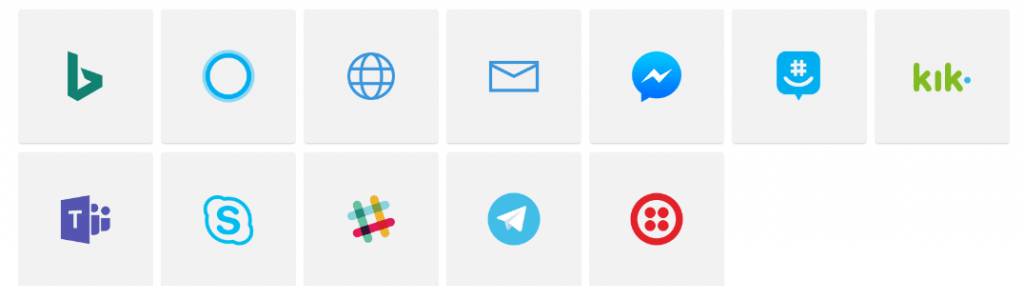
You can connect your bot to a variety of different channels.
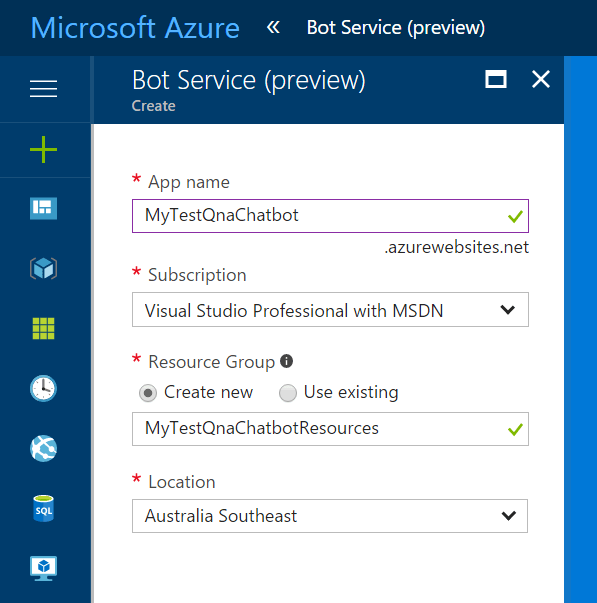
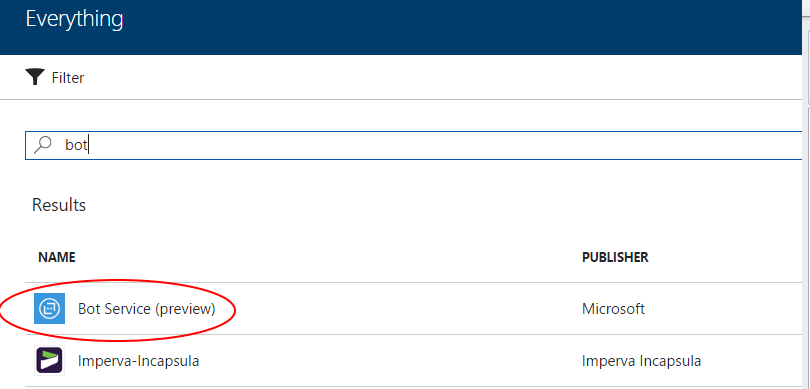
Head over to Azure and create the ‘Bot Service’.
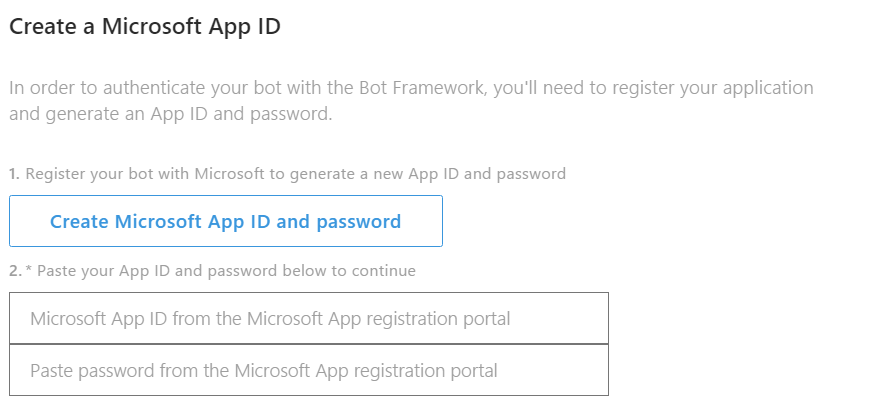
Open the Bot Service once it has been provisioned. You’ll initially see the below screen asking for App ID and Password credentials.
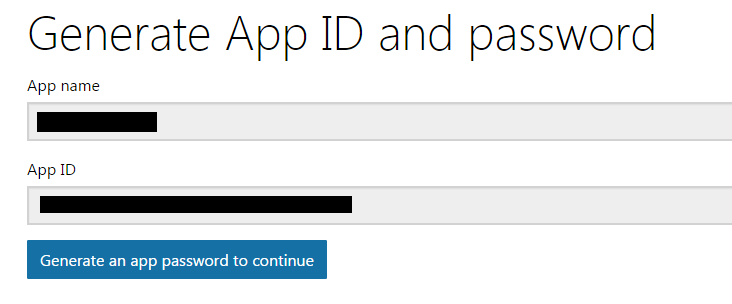
You’ll need to register your Bot Service at https://apps.dev.microsoft.com. After doing this, you’ll be given an App ID and Password.
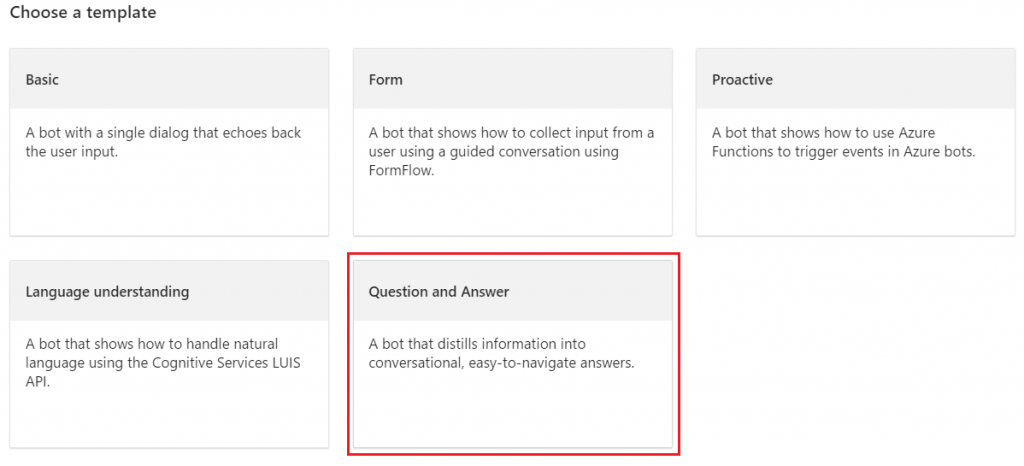
At the next screen you’ll be presented with a list of bot template types. In this case I’ve chosen the ‘Question and Answer’ option.
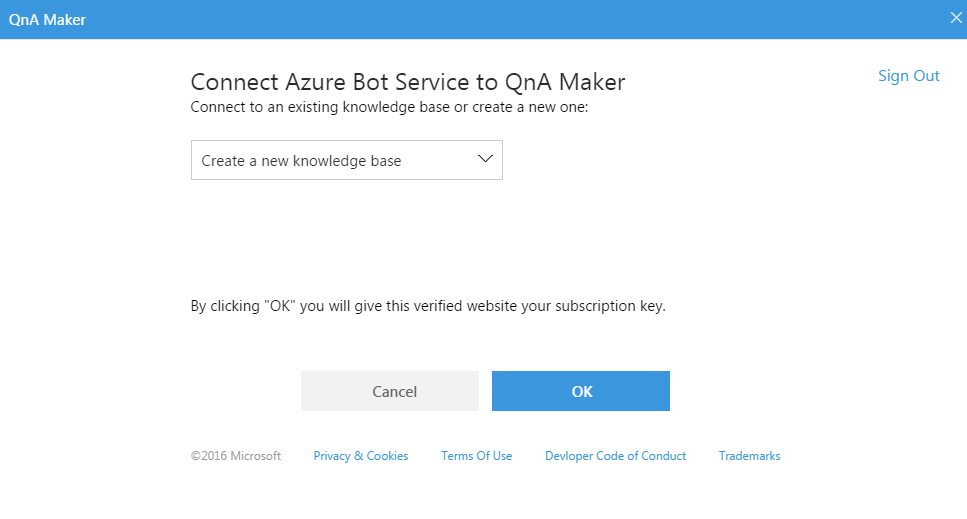
Now Azure will provision your QnA chat bot service. Azure will generate the bot web app project based on your chosen template type.
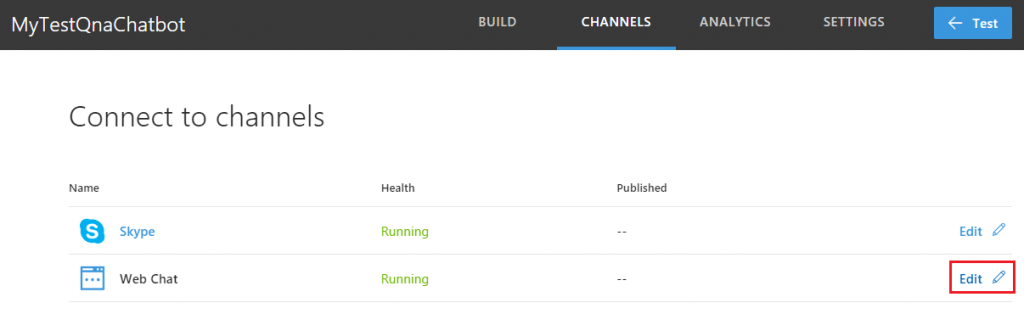
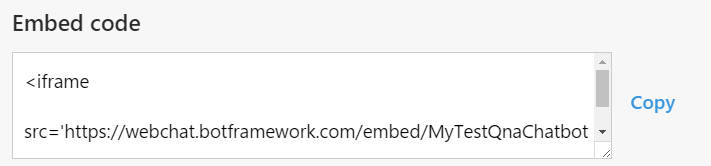
After that’s done. You then need to configure the channels you want to access your bot with. For the purposes of this article I’m going to embed it within a web page.
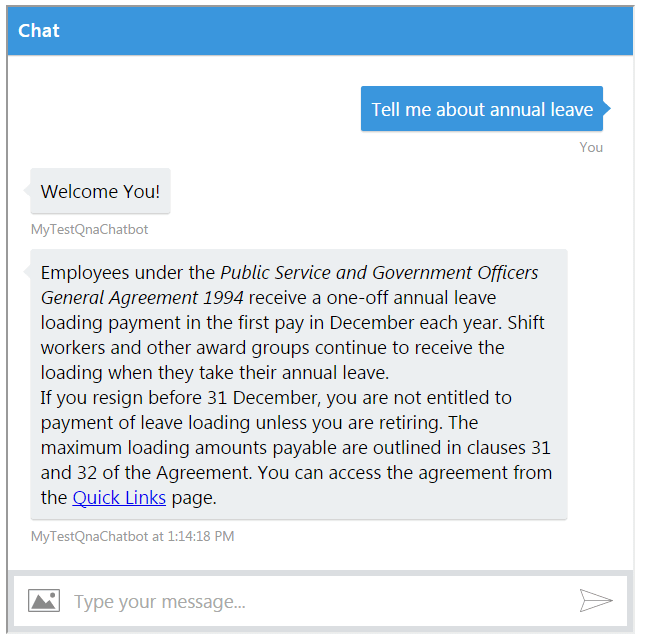
You’ve probably noticed that we haven’t yet fed out questions and answers to the chat bot we’ve just provisioned.
For this, you’ll need to head over to https://qnamaker.ai/. A new QnA service will have been created for you by Azure. You’ll need to upload or manually enter the questions and answers here.
And there you have it. It’s all done.
Final Thoughts
Microsoft’s QnA bot service is an incredibly powerful tool which allows you to build a chat bot service in practically no time at all.
It’s still early days for the QnA Maker service which is still in beta. At the time of writing there are limited extensibility options available to developers however I imagine that this will improve over time. One thing is for sure though, the service shows great potential!
Have you used the QnA service? What features would you like to see?

This blog is my place to share my thoughts, helpful solutions and just random nerdy stuff.
- Solved: Filename too long for Git - 18th April 2025
- GitHub Actions Exam Study Guide - 14th February 2025
- Solved: Build Errors Not Showing in VS 2022 - 21st November 2024


16th November 2017 at 8:31 am
Nice artilce