Overview
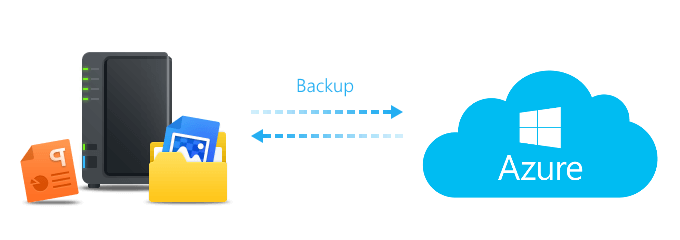
In this article we’ll look at how to configure your Synology NAS to backup your data to the Microsoft Azure cloud.
Why?
When was the last time you took the time to stop and think about your backup strategy? A few weeks … a few months … never?
What would you do if your data was held to ransom by a ransomware virus? What if your house was burgled tomorrow? Would you be able to recover your data?
Although we might like to think it will ‘never’ happen, truth is it could happen at any time. As my good friend Murphy says …
“Anything that can go wrong, will go wrong”
Murphy’s Law
It’s not a matter of if … but when.
A 3-2-1 backup strategy is considered industry best practice when it comes to ensuring the safety of your data. It involves having at least 3 copies of your data, including 2 local copies (master copy + backup) and 1 copy stored offsite in a remote location.
While onsite backups are more convenient and allow you to backup / restore your data quickly with minimal downtime, they won’t protect you in the event of disaster such as fire at your premises, flooding, power surges etc. For this reason offsite backups are required for that extra level of protection.
Backing up your data to a cloud provider such as Microsoft Azure, Amazon AWS is a popular approach for creating an offsite backup. It’s convenient, secure and can be very cost effective compared to other alternatives. In this article I’ll be focusing specifically on using Microsoft Azure.

How Much Will it Cost?
That’s a great question…
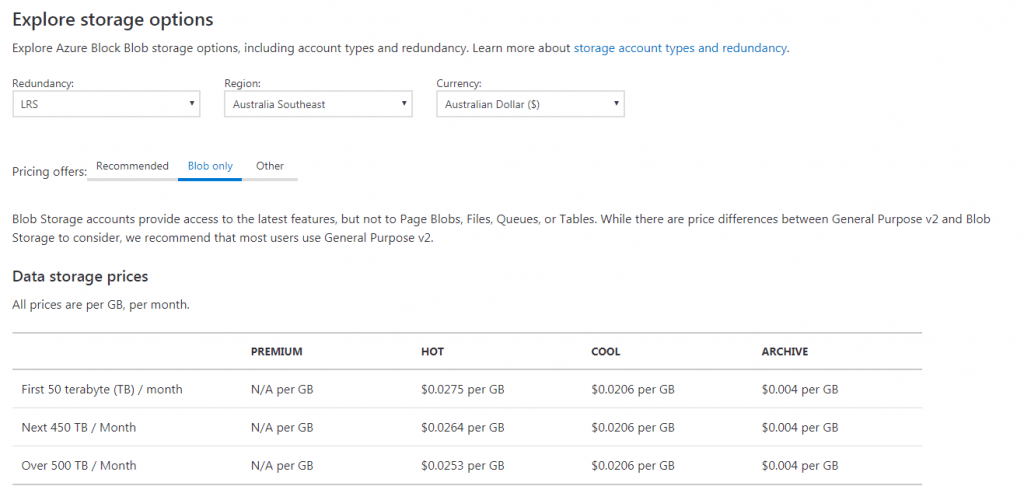
The cost to store data in Azure is primarily dependent on a few factors, including:
- The region you want to store your data within – generally this should be the closest site to where you are located
- The level of protection required for your data (i.e. should it be replicated to multiple Azure data warehouses?)
- The amount of data you will be storing
- How often you will be reading and writing data to and from Azure.
The easiest way to calculate the cost is by using the Azure storage calculator – https://azure.microsoft.com/en-us/pricing/details/storage/blobs/
High Level Approach
Ok enough talk … let’s get started.
The steps required to sync your Synology NAS with Azure is as follows:
- Create Azure Resource Group (Optional)
- Create Azure Storage Account – where you will store your data
- Copy the Storage Keys for your Azure Storage Account
- Configure the Hyper Backup backup job on your Synology NAS
Create Azure Resource Group (Optional)
Resource Groups are containers for grouping related Azure resources together. You can think of them like ‘folders’ within a file system. Without them, things can quickly get out of hand as you create more and more resources in Azure.
For this reason I highly recommend that you create a Resource Group to group all your Azure resources relating to your Synology NAS backups.
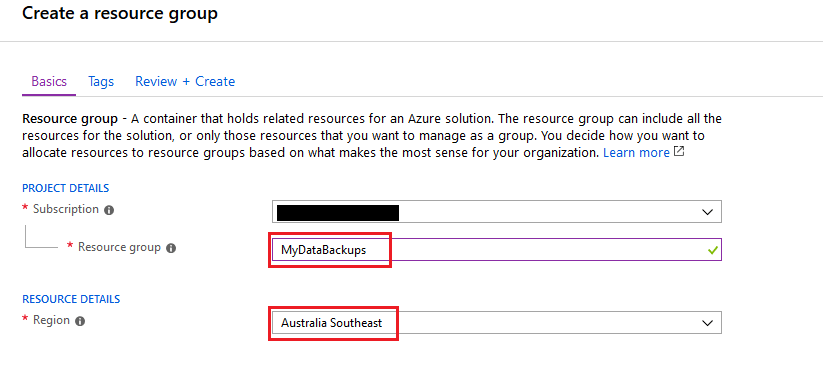
I’ve created a Resource Group called “MyDataBackups“. So if I wished to later cease backing my Synology NAS to Azure, removing the resources in Azure is as simple as deleting the Resource Group. Otherwise I would need to find each resource and delete it manually.
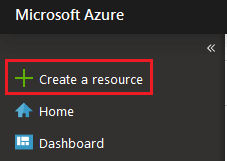
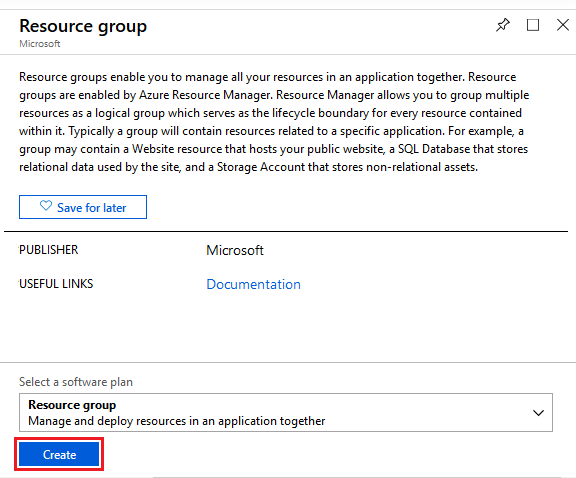
To create it, log into the Azure Portal and click Create a Resource
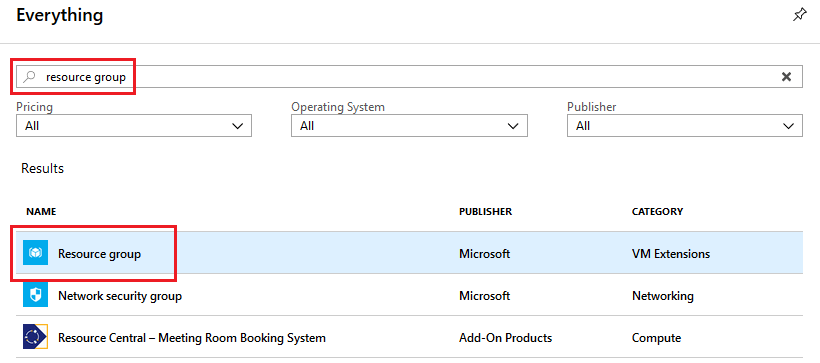
Select the Resource Group resource type
You’ll be asked which Azure Region you would like to store your data within.
An Azure Region is a cluster of data centres deployed within a specific geographical area. At the time of writing there are over 54 Regions spread around the world.
I recommend that you choose the Region that is closest to you for best performance when uploading or downloading data to and from Azure.
Create Storage Account
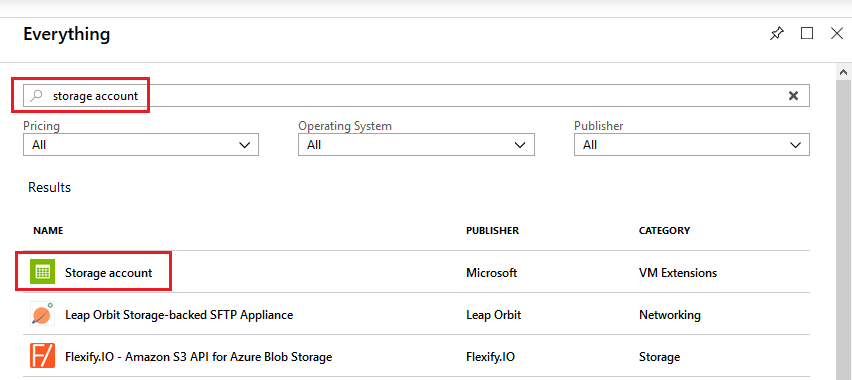
Next, create the Azure Storage Account resource – this is the container where your data will be stored. Make sure you place it in the Resource Group you created previously.

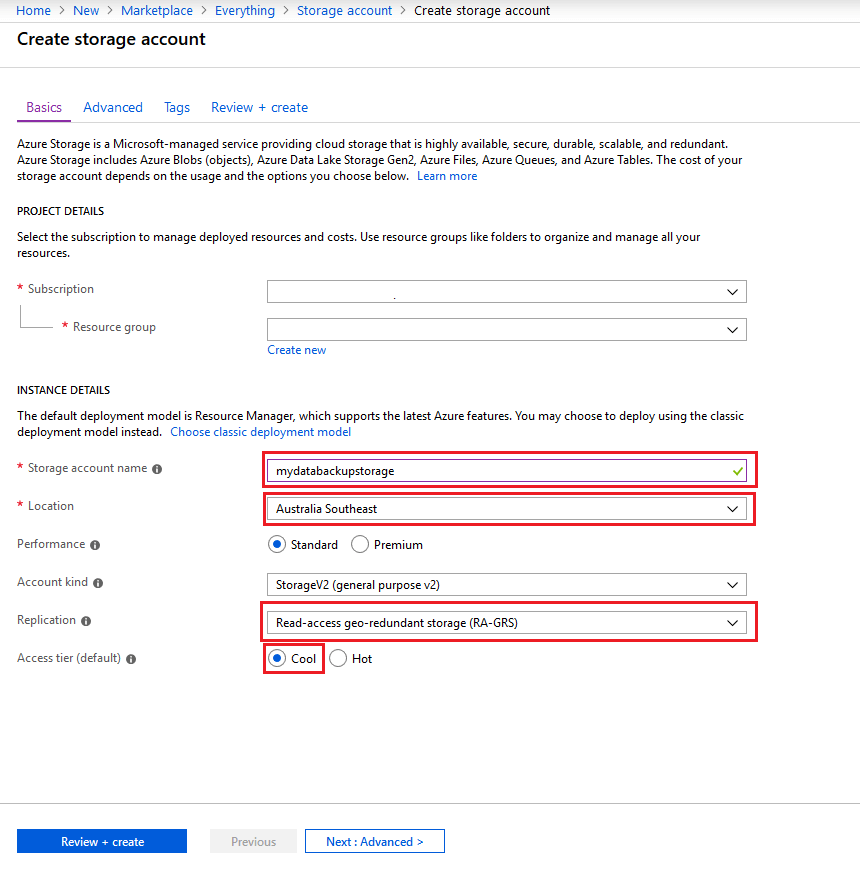
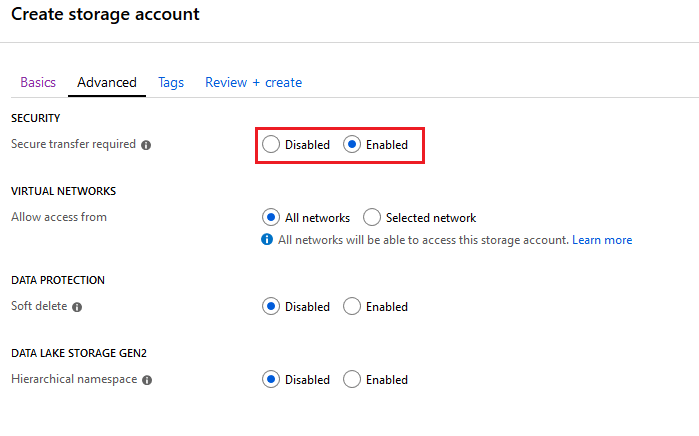
While creating the Storage Account, you’ll be prompted to specify several details. Here’s a quick explanation of some of the important options to take note of:
- Name: This is the unique name for your storage account
- Location: Azure has many data centres around the world. Choose the one that is closest to you, to maximise your upload / download speeds.
- Performance: Using high performance SSD storage is not required, so use the default option ‘Standard’.
- Account Kind: Use the default option ‘StorageV2’.
- Replication: Azure is able to make multiple copies of your data and keep it in multiple regions. Locally Redundant Storage (LRS) is probably more than enough for the average person’s backup needs – multiple copies of your data will be stored within one of Azures data centres. If you’d prefer extra piece of mind then you can consider other options such as Geo-Redundant Storage (GRS), which can replicate your data across multiple geographical regions, in case there is a region wide outage of Azure’s infrastructure (very unlikely). More information is available here.
- Access Tier: As your data won’t be changing much. I recommend choosing ‘Cool’ storage, which is optimised for infrequently accessed data, and will ultimately save you money on storage costs.
- Secure Transfer Required: Enforces encryption during the transfer of your data to Azure. Keep this ‘Enabled’ unless you have a specific reason to do so.
- Data Protection: This option allows you to recover your data after you’ve deleted it. Given you will have other copies of your data, you can leave this set to ‘Disabled’.
Copy Azure Storage Access Keys
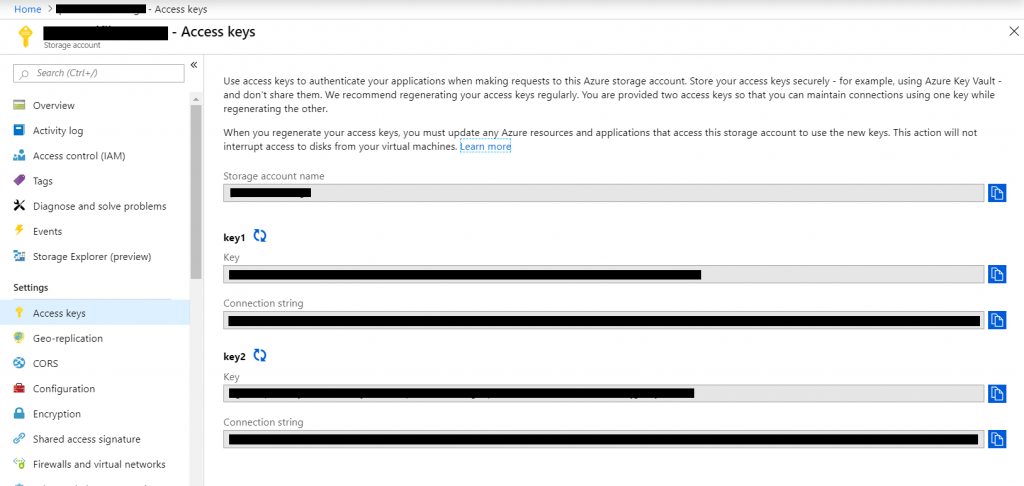
After creating your Storage Account. Now it’s time to fetch the Access Keys so that your Synology NAS can connect to your Azure Storage Account.
You can find your Access Keys under SETTINGS > ACCESS KEYS within your Storage Account.
Make note of the Storage Account Name and the Access Keys for later.
Create Synology HyperBackup Job
- Log into Synology NAS and launch the HyperBackup app. If you don’t already have it, then you’ll need to install it.
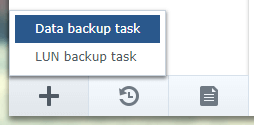
- Create a new ‘data backup’ task
- Select Microsoft Azure as your Destination
- Enter the Azure Storage Account Access Keys (that we saw earlier). I recommend you keep transfer encryption turned on, to protect your data in transit to Azure’s servers.
- Next you’ll need to specify the frequency of the backup.
- You’ll then have the option of enabling Backup Rotations. I’d recommend you turn this on if you can spare the extra storage cost. After the initial full backup is taken, changes to your files will be incrementally backed up to Azure. Therefore the extra storage required for Backup Rotations will be minimal. It’s useful for recovering your data in situations such as your files being encrypted by a ransomware virus . You could easily recover your data from a previous backup snapshot.


Things to Note
Although it’s not clearly mentioned, HyperBackup will store your data in a proprietary backup archive format rather than storing your files as-is. Unfortunately there is not much you can do about this, apart from finding an alternative backup solution.
In a worst case scenario, if Synology NAS suffered a hardware failure, you must manually download the backup archive from Azure and use the Synology Backup Explorer program to extract the files out of the archive. Luckily it’s something I haven’t had to do yet!
You can find it available here for download – https://www.synology.com/en-global/support/download. Make sure you keep a copy of this program available on-hand in case it is required at a later date.

Final Thoughts
I hope you’ve found this article to be useful. If you have any other thoughts or tips, feel free to share them below.
- GitHub Actions Exam Study Guide - 14th February 2025
- Solved: Build Errors Not Showing in VS 2022 - 21st November 2024
- How To: Configure VSCode to Trust Self-Signed Certs - 16th August 2024
On the basis that a backup is only as good as the restore I did check the broken NAS scenario.
On Windows needed to download both the synology storage explorer and Azure Storage Explorer.
Downloaded the .hbk folder and then opened the .hbki file in Synology Storage Explorer and was able to copy the files and confirm they were correct.
Hey there- very useful guide, got me on my way to writing hbk to Azure- appreciate you writing it up. Only bummer is that I’m seeing surprisingly slow speeds- 4MB/sec on 1gig fiber, not seeing any resource limitations on Synology side. Not expecting 100MB/sec fiber saturation, but wondering if this speed aligns with what others are seeing. I’m on track to take 90 days to do initial upload, so likely same in a full DR scenario.