Overview
There are numerous ways to manage your Azure resources, including the web-based Portal, the Azure Cloud Shell, API’s.
In this post I’ll be focusing on the Azure Command Line Interface (or CLI).

Why Use the CLI?
While it’s easy enough to create and manage Azure resources through the web-portal. As the number of resources grow over time in your environment, it starts to become infeasible to manage.
Using the CLI gives you more control over your environment, many of the features and configuration options are not available in the web-based Portal. Therefore, the CLI is the tool of choice for many cloud infrastructure administrators.
Additionally, it also promotes repeatability by enabling you to script many of the common tasks you might perform regularly.
Installing the Azure CLI
To install it in a Windows environment, download and run the MSI installer package from Microsoft. Once completed, you can then run Azure CLI commands through the built-in Windows CMD prompt or PowerShell.
More information, including links to the MSI package can be found here:
https://docs.microsoft.com/en-us/cli/azure/install-azure-cli-windows?view=azure-cli-latest
Authenticating with Azure
Once installed, you’ll need to authenticate to Azure using your Azure credentials.
Running the below command will launch a browser window prompting you to log into the Azure Portal. Following this, your command prompt session will be authenticated with Azure, enabling you to run commands against your Azure account.
az login
Sample Script
# Update for your admin password
AdminPassword=ChangeYourAdminPassword1

# Create a resource group.
az group create --name myResourceGroup --location westeurope

# Create a virtual network.
az network vnet create --resource-group myResourceGroup --name myVnet --subnet-name mySubnet

# Create a public IP address.
az network public-ip create --resource-group myResourceGroup --name myPublicIP

# Create a network security group.
az network nsg create --resource-group myResourceGroup --name myNetworkSecurityGroup

# Create a virtual network card and associate with public IP address and NSG.
az network nic create \
  --resource-group myResourceGroup \
  --name myNic \
  --vnet-name myVnet \
  --subnet mySubnet \
  --network-security-group myNetworkSecurityGroup \
  --public-ip-address myPublicIP

# Create a virtual machine.
az vm create \
    --resource-group myResourceGroup \
    --name myVM \
    --location westeurope \
    --nics myNic \
    --image win2016datacenter \
    --admin-username azureuser \
    --admin-password $AdminPassword

# Open port 3389 to allow RDP traffic to host.
az vm open-port --port 3389 --resource-group myResourceGroup --name myVM
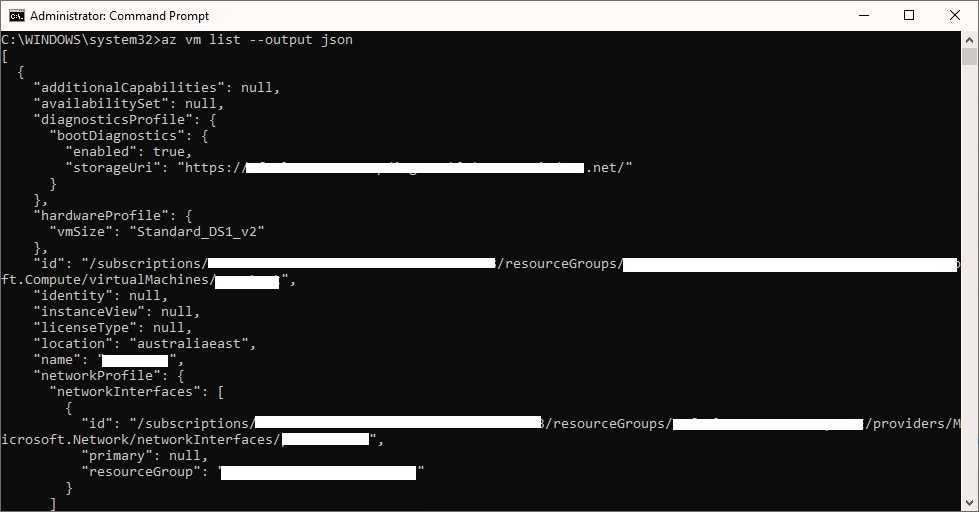
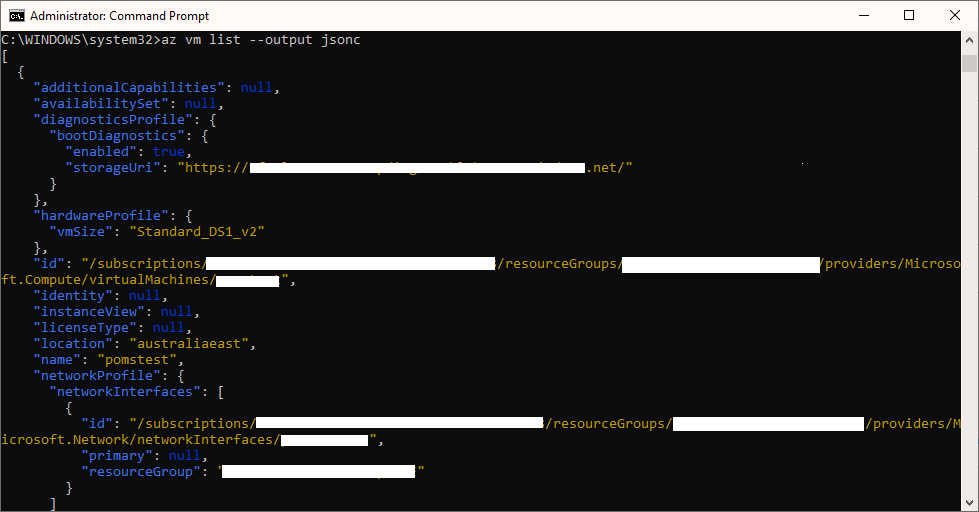
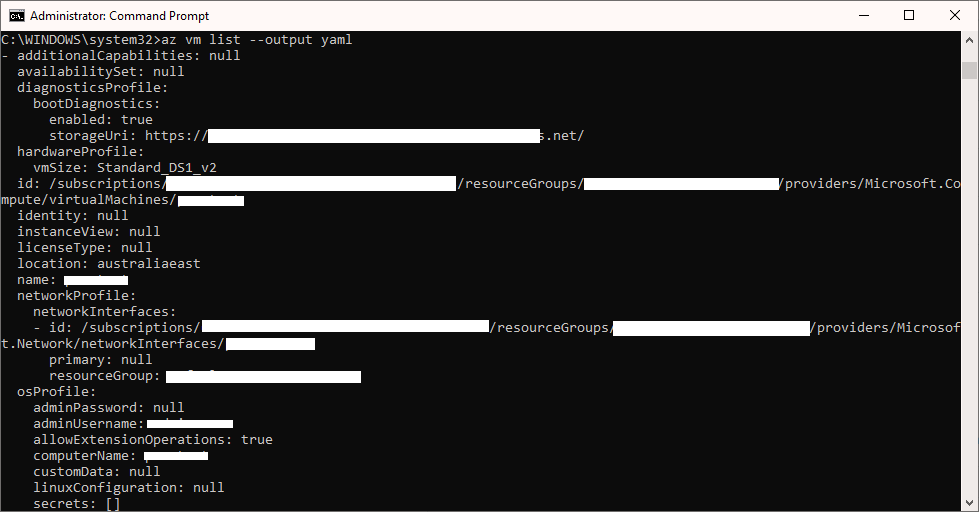
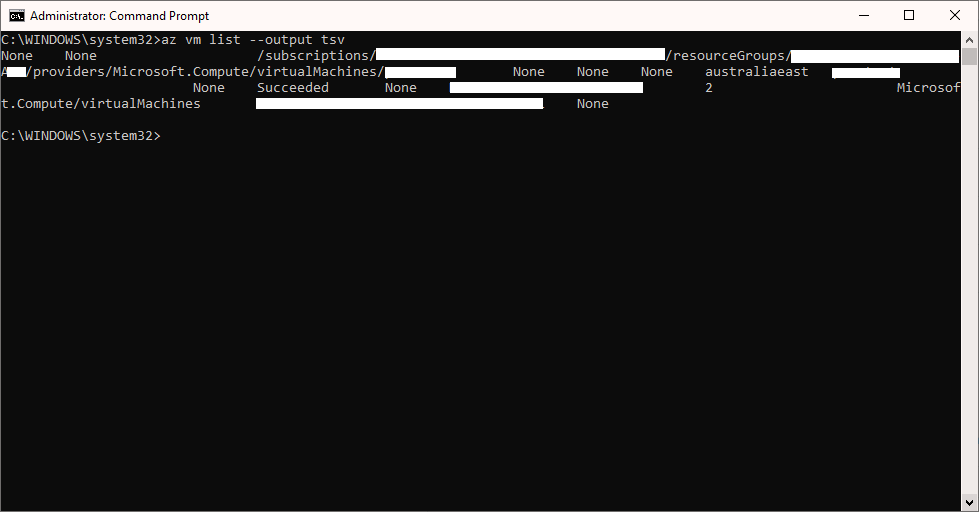
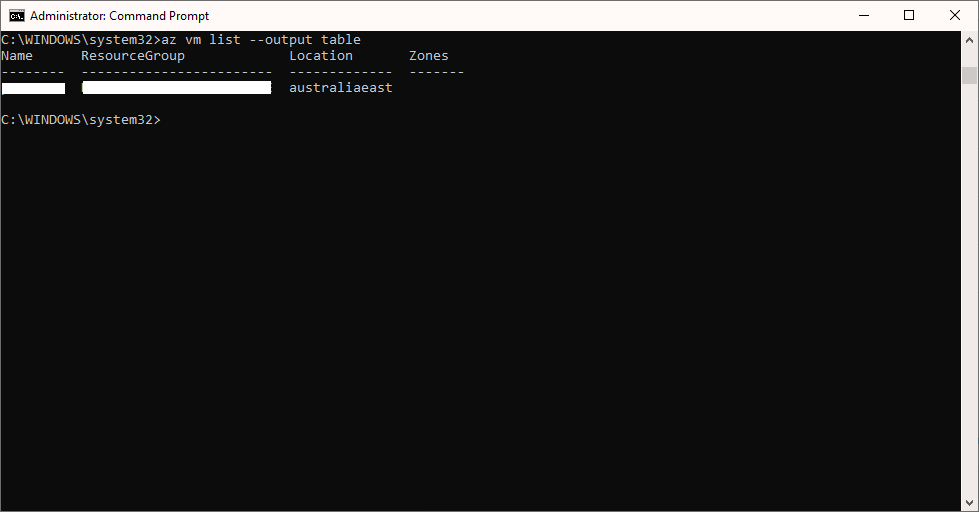
Output Formats
The CLI provides the following output formats:
JSON
JSONC – Coloured JSON
YAML
TSV – Tab Separated Values
Table

This blog is my place to share my thoughts, helpful solutions and just random nerdy stuff.
- Solved: Filename too long for Git - 18th April 2025
- GitHub Actions Exam Study Guide - 14th February 2025
- Solved: Build Errors Not Showing in VS 2022 - 21st November 2024


Leave a Reply